Inventory Module: Printing Barcode Labels
Printing Barcode Labels:
Cut Time has defined a preset list of four standard Avery label formats for printing. However, you have the ability to print any label format that Avery has available. If you would like to print a different type of label, select one of the four pre-formatted labels and click the "Confirm Selection" button. Then on the next screen click "Produce Labels at Avery". Once on the Avery site you will be able to choose any label format you desire. (Instructions below)
Avery Templates offered:
Cut Time includes the following pre-formatted Avery templates:
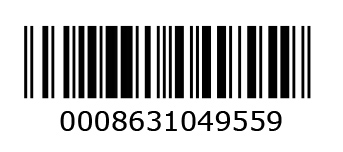
Avery 5160 (1” x 2-5/8”, 3 columns, 30 per sheet)

Avery 5163 (2” x 4”, 2 columns, 10 per sheet)
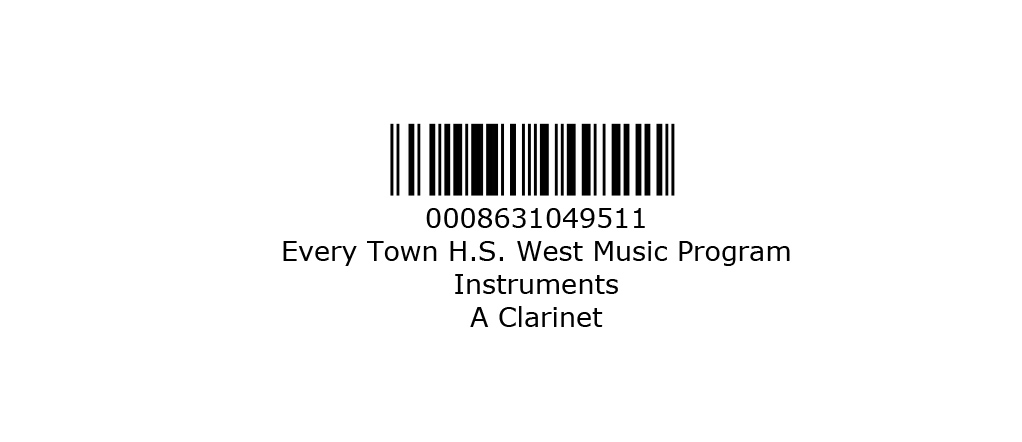
Avery 8160 (1” x 2-5/8”, 3 columns, 30 per sheet)
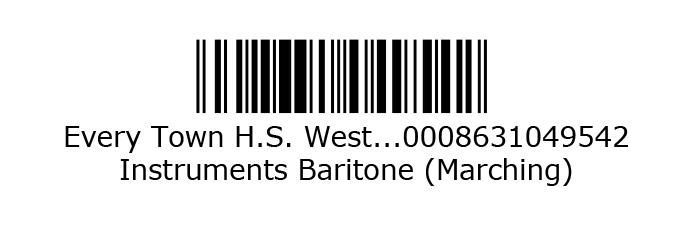
Avery 8167 (1/2” x 1-3/4”, 4 columns, 80 per sheet)
How to Print Barcode Labels:
1. Choose Label Format
2. Click "Confirm Selection"
- Sends you to "Print Barcode" screen.
3. Click "Produce Labels at Avery"
- Sends you to Avery Label Creation Site
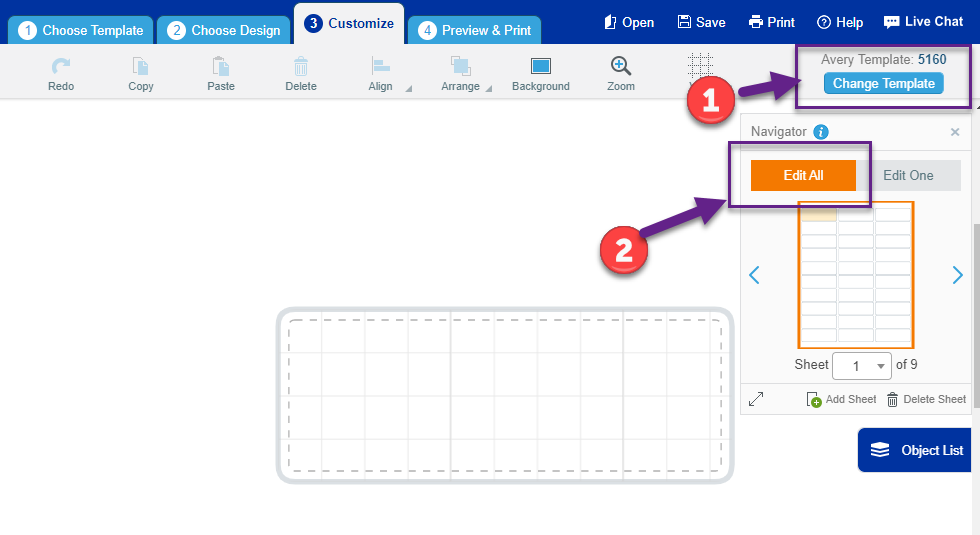
4. If you wish to choose a different Label Template, click the Change Template button at the upper right of the screen. (1)
5. Click "Edit All" Button (2)
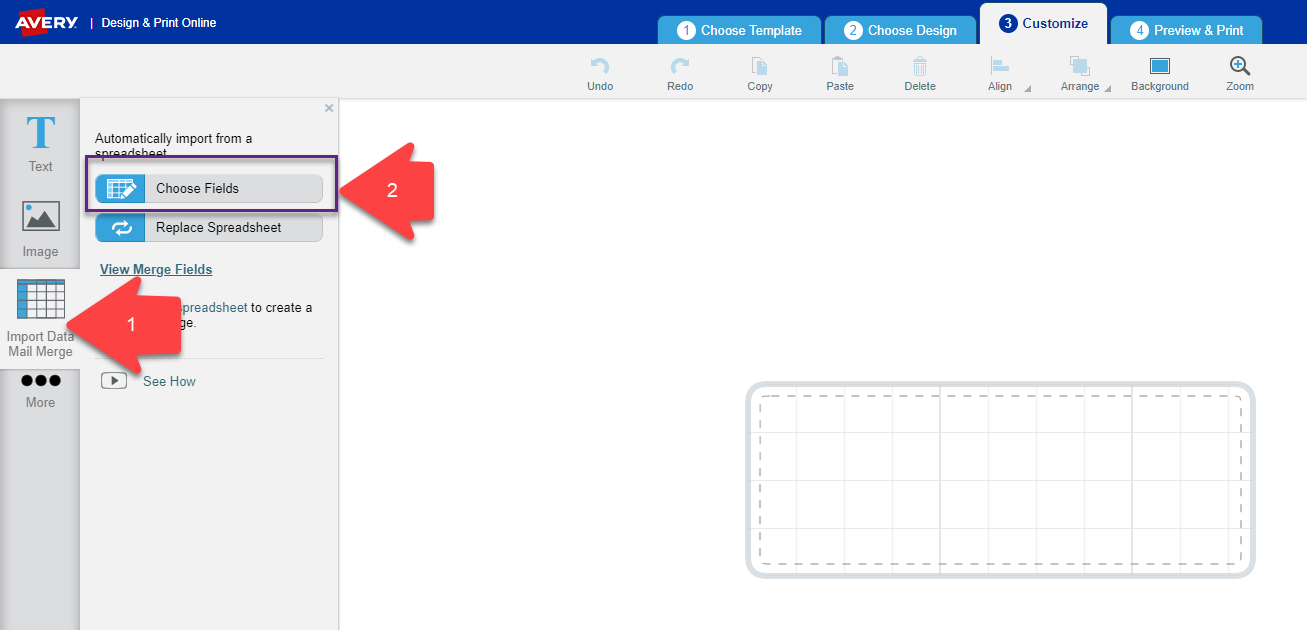
6. Click "Import Data Mail Merge"
7. Click "Choose Fields"
8. Un-check the fields you wish to not see on the label, leaving the fields checked you want on the label
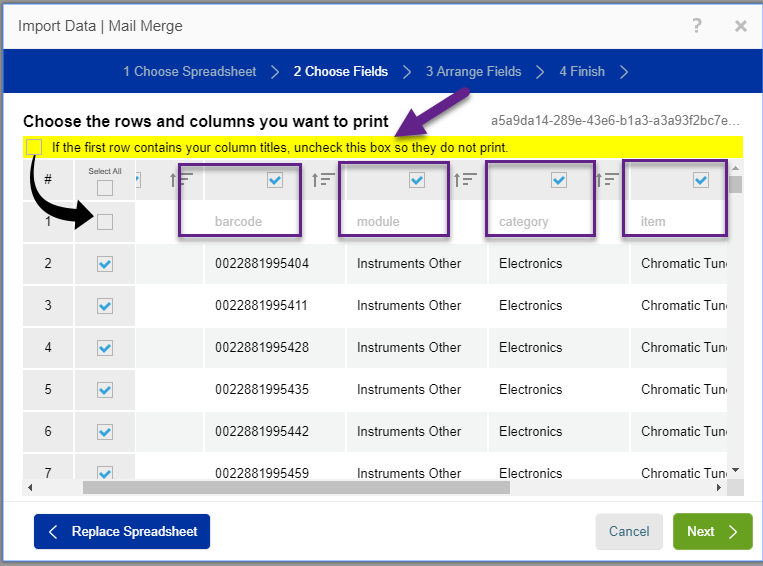
9. When satisfied with content for label, click "Next"

10. Click & Drag fields in the order you wish to be displayed on the labels
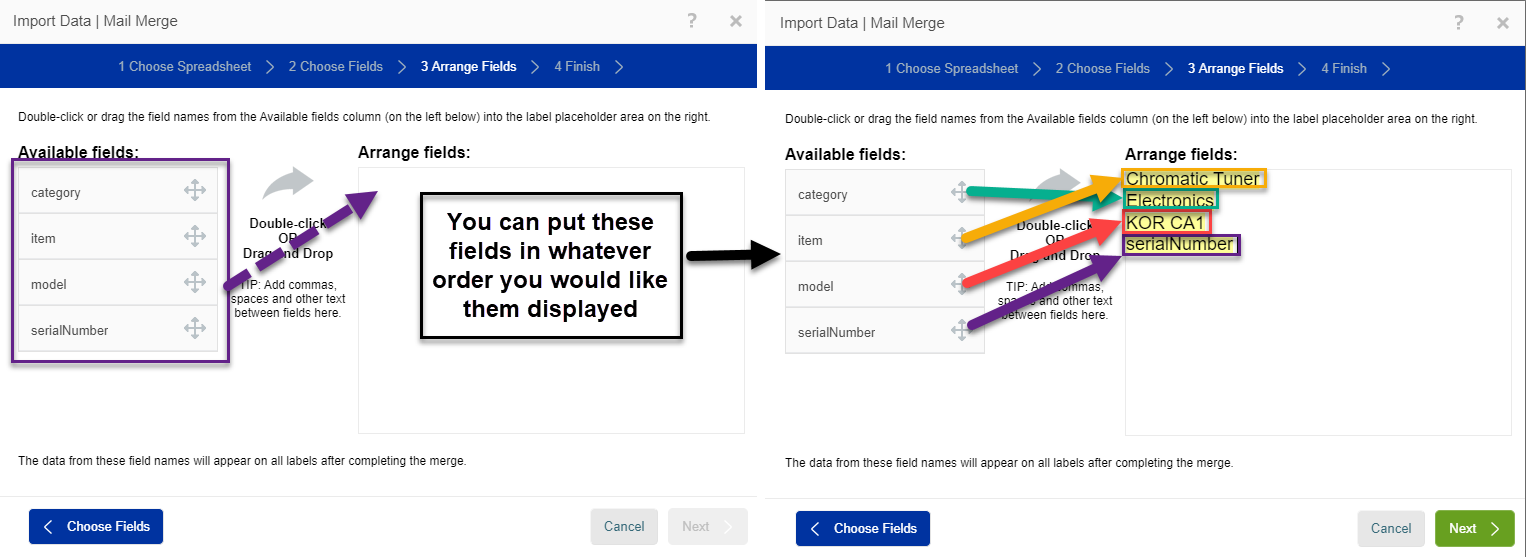
11. When satisfied with content for label, click "Next"

12. Choose if you would like to "edit all labels" or "one at a time"
13. When ready, click "Finish"

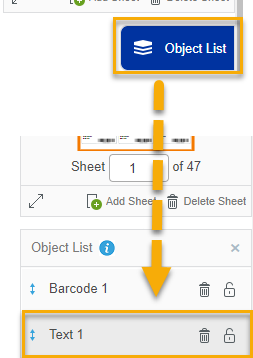
14. Click "Qr & Bar codes"
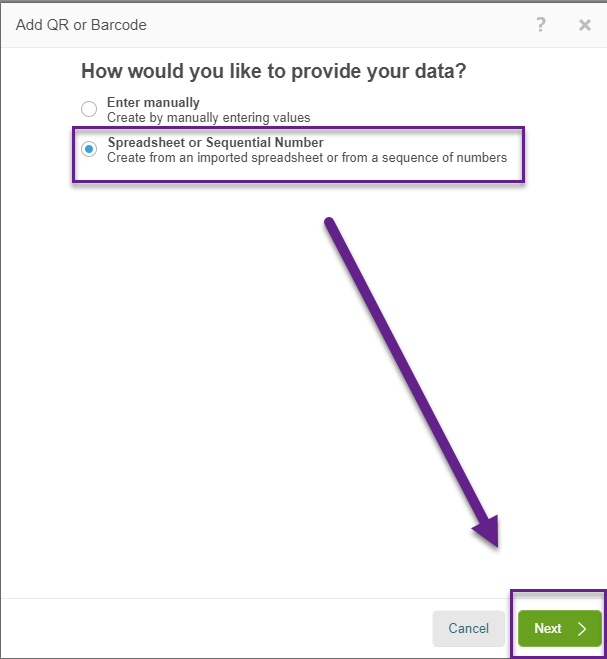
15. Click "Add Barcode or QR Code" Button

16. Choose "Spreadsheet or Sequential Number"
17. Click "Next"
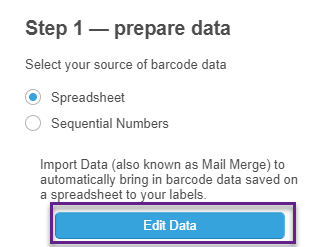
18. Click "Edit Data" Button
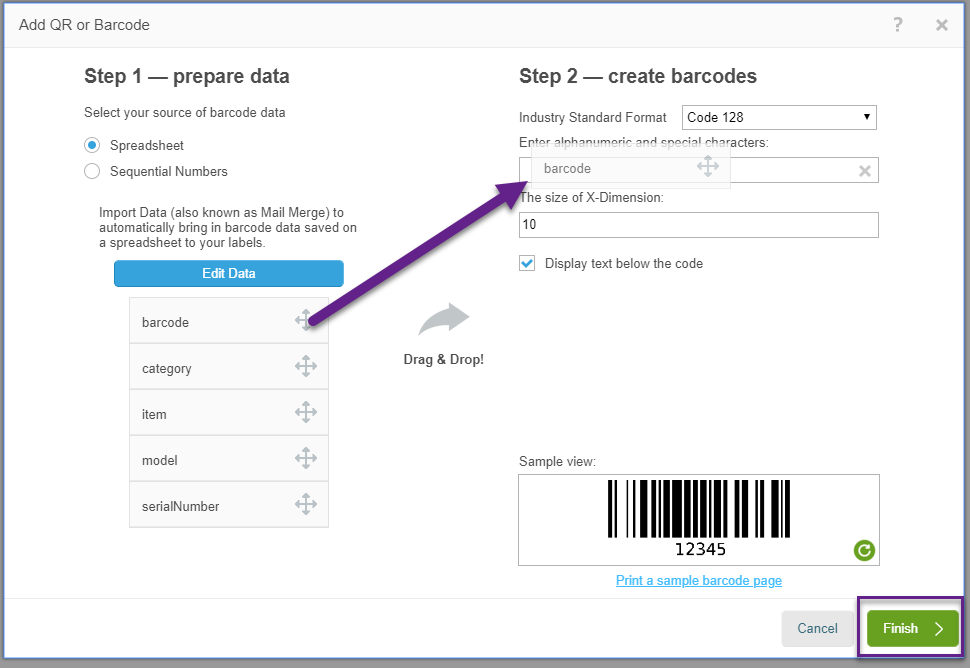
19. Check "Barcode" box
20. Click "Next"

22. Click "Finished"
24. To edit label text:
- Click on "Object List"
- Click "Text 1"
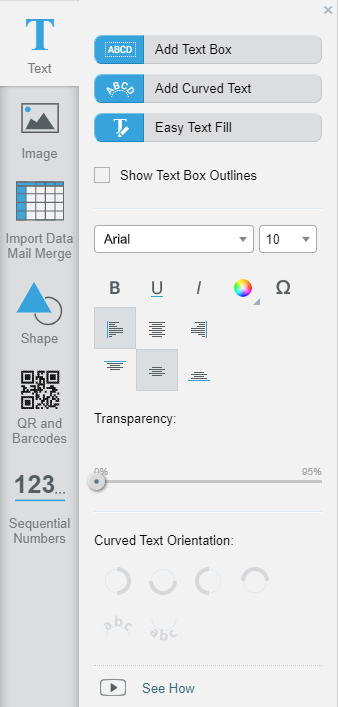
25. Text editing panel will appear on the left hand side of your screen
- Examples of things you can edit:
- Add School Name
- Bold text
- Change Color
- Enlarge/Shrink text
- Etc.
26. When ready, click "Preview & Print" Button
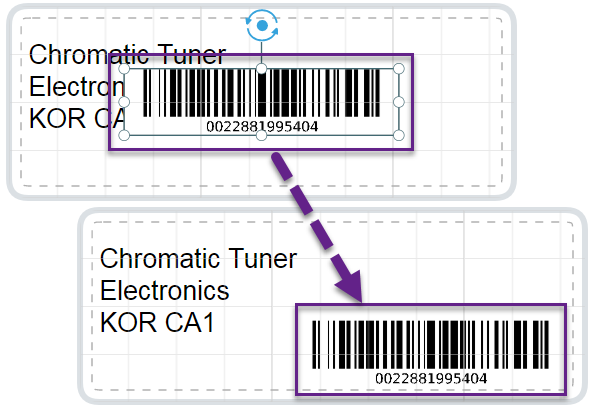
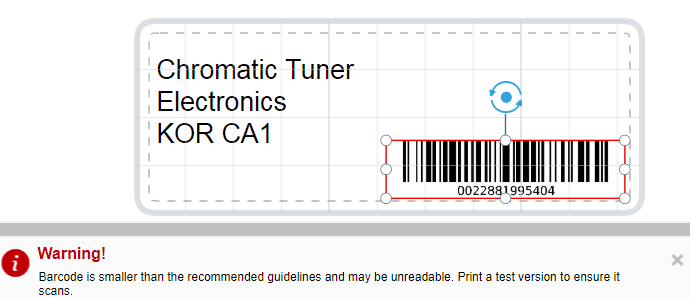
27. Check all pages of labels to make sure there are no mistakes, overlapping of text, or issues of placement of barcode
- If error is found, click "Customize" button to go back and edit labels

28. Make correction to labels
29. When ready, click "Preview & Print" Button

30. Double check to make sure labels are all corrected to satisfaction
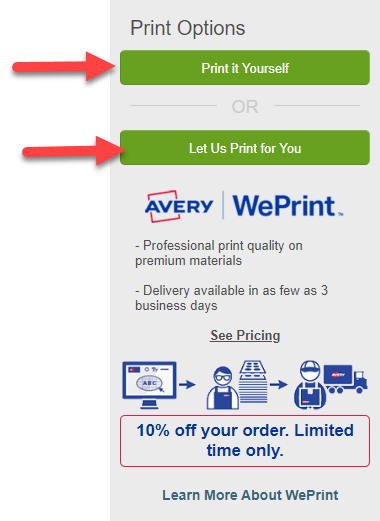
31. Once you are ready to print click "Print it Yourself" or "Let Avery Print For You" (Paid Service)
_________________________________________________________________________________________________
Option - Print Custom Barcode Labels using a label printing program other than Avery:
- Go to the Inventory menu and select Print Barcodes.
- Select an inventory module from the drop-down list.
- Select the items you want to print.
- The list will default to all items.
- Click the "Extract (CSV)" button towards the top of the page.
- This will produce a CSV file of the information from the items you had selected in step 3.
- Upload the CSV file to your label printing program.
- Produce your labels