Data Import Resources: How to upload your own People data
Within this article you will learn how to prepare your data for importing using our Templates to Upload into your Cut Time Account on your own.
WHAT IS THE DIRECT IMPORTER?
The Direct Importer is an uploading page that is set up for you to be able to enter your data and Upload it yourself into your Cut Time Account.
- Data must be put into the Cut Time templates in order for it to upload to this page.
- On screen “error” messages will appear to let you know if there is anything within your Template(s) that does not meet importing standards.
- Simply fix these “errors” and Upload the Document again.
MODULES AVALIBLE FOR DIRECT IMPORTING:
- People
How to Use the Direct Importer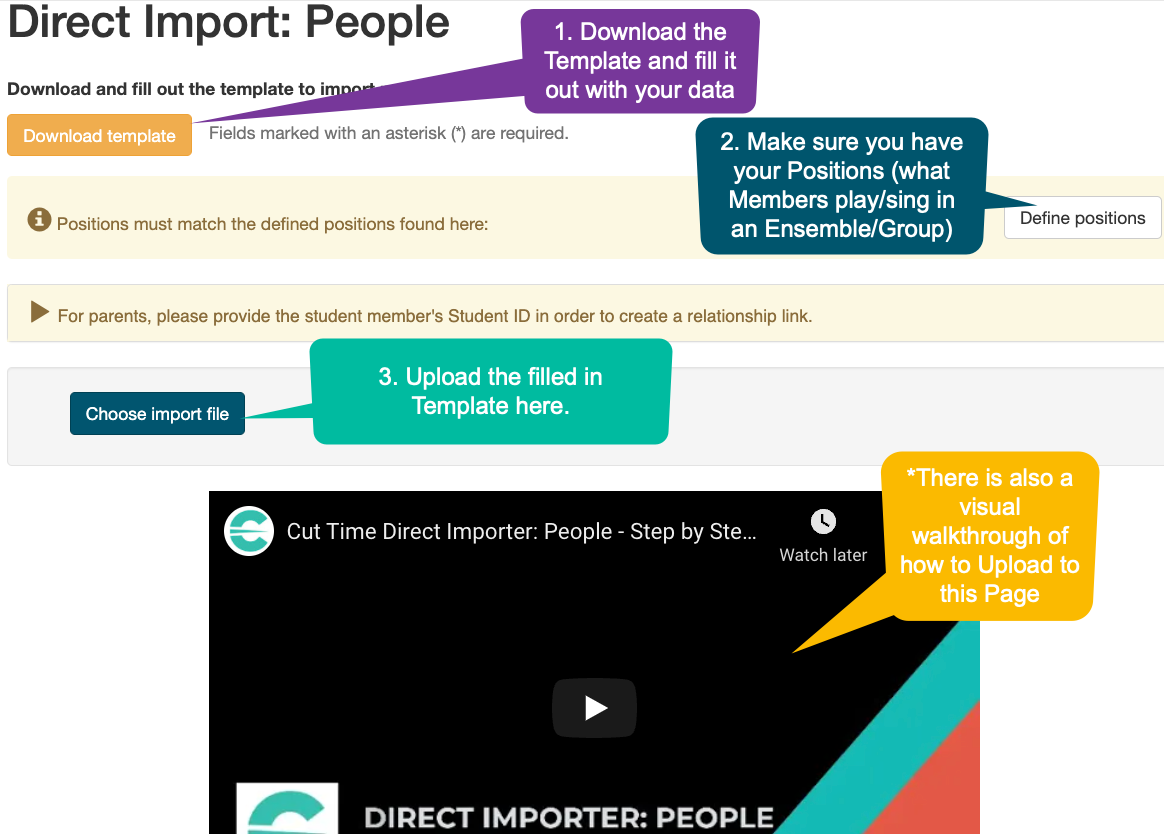

- Go to the People Module: Direct Import Page.

- Click on “Download template”.

- Define your Positions - what Members play/sing in an Ensemble/Group - so that it is consistent with what you are entering in the Direct Import Template.
- *Note: Positions must all be setup into your Account BEFORE Importing your data.

- *Note: Positions must all be setup into your Account BEFORE Importing your data.
- Format your data into this Template.

- Link Members with their Parents/Guardians within your template using Student ID.

- In the Example shown below, we have two Students; Annabelle and Brian, and Marcus is their father. In the Template this is represented by Marcus having both Annabelle and Brian’s Student ID’s listed in his Student ID cell, separated by a semicolon.
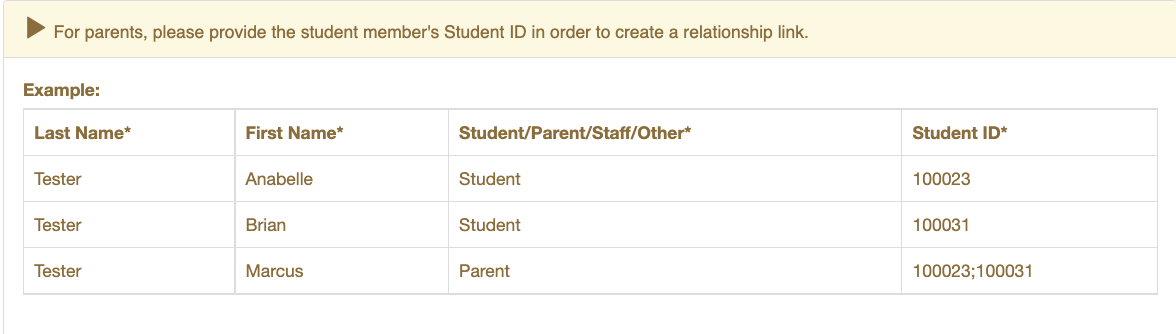
- *(Tip: Make sure when entering the ID Numbers that there is NO SPACE between the two numbers.)
- Link Members with their Parents/Guardians within your template using Student ID.
- Save file as .CSV
- Click here to see how to save your file as a .CSV
- Click on "Choose import file".

- Click on the File you wish to upload and click "Open".

- Once you have chosen the File you wish to upload, click “Start” to process File Upload.

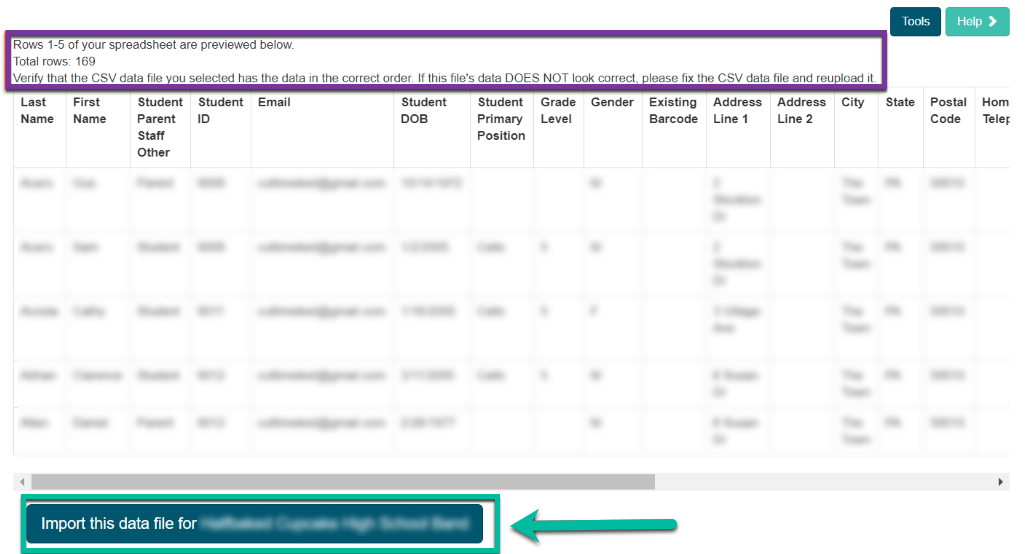
- There will be a five-row preview screen for you to verify that the information will be Uploaded correctly.
- If there is any information out of place, stop your Upload, fix your Template and start your Upload again.
- If the information is correct, click “Import this data for…”.

- Once the file has been uploaded successfully a notification will appear.
- OR: If there was an error in the Template you were Uploading, an “error” message will appear on the screen.
- In this Example,“error” report will indicate the rows within your spreadsheet that needs to be fixed in order to be Uploaded.

- In this Example,“error” report will indicate the rows within your spreadsheet that needs to be fixed in order to be Uploaded.
- Once you have fixed, the errors repeat steps 7-10 until you receive a successful Upload message.


How Do I Find the Members I Uploaded?
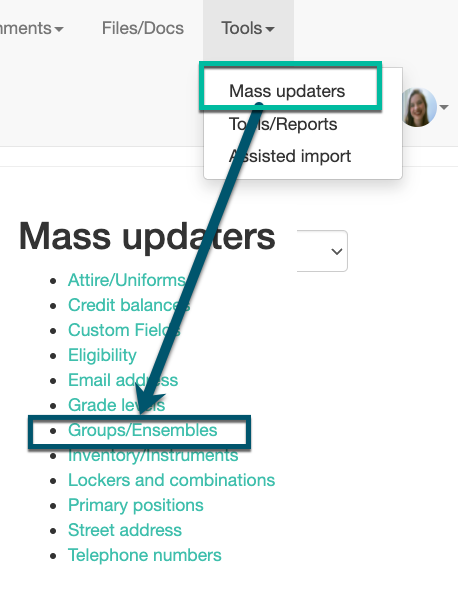
Now that you have Imported your Members into your Account, you need to Assign them to Groups/Ensembles.
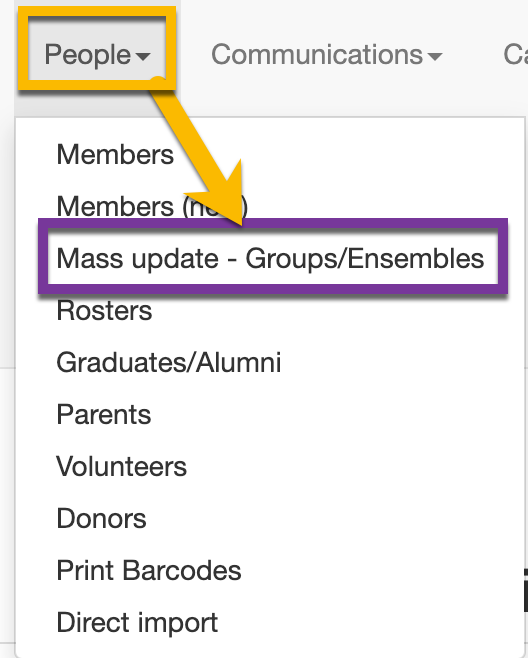
- Go to the Tools Module: Mass Updaters Page > Groups/Ensembles or to the People Module: Mass Update - Groups/Ensembles.
- Choose the Group/Ensemble that you want to Add Members to.

- Use the filter to narrow down the listing of Members.

- *Note: Members that were Added to Cut Time Using the Direct Importer will appear under the Ensemble Filter "- Unassigned -". Click "Filter assign list".
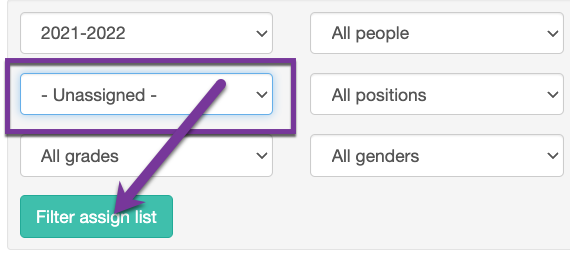
- *Note: Members that were Added to Cut Time Using the Direct Importer will appear under the Ensemble Filter "- Unassigned -". Click "Filter assign list".
- Use the "Add all" button to move everyone from the right hand side of the screen, to the left and into that Ensemble/Group.
- OR: Use the individual "Add" buttons next to the Members' Names to add the one at a time into the Ensemble/Group.


OR
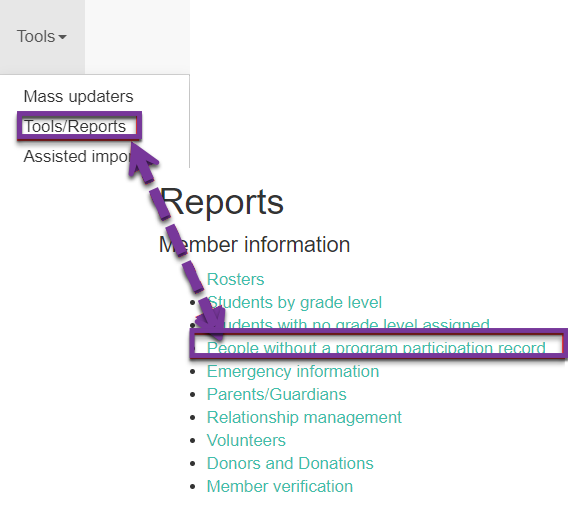
- Go to the Tools Module: Tools/Reports Page.
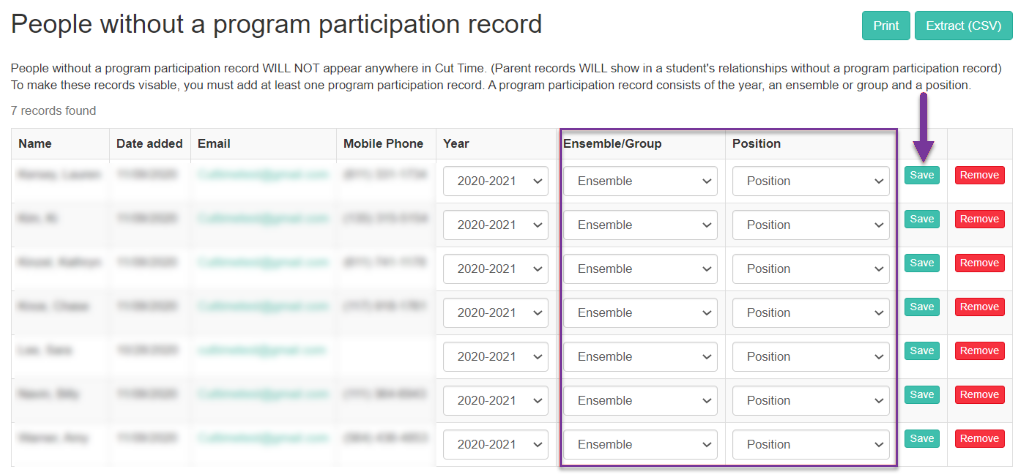
- On the left hand side under the Reports Section: Member Information > People without a program participation record.
- Choose on Ensemble/Group and Position needed for each Member, then click “Save” next to their Name.
- Repeat until all Members have been Assigned a Program Participation Record.

