Data Import Resources: FAQ - Direct Import
Here are some FAQ related to the Direct Importer
What Does Direct Import Mean?
The Direct Import tool allows you to use the Direct People Import Template and Upload data into your Account without any assistance from the Cut Time Support Team.
Direct People Import Template Overview:
The following are the Fields that are available for Importing within the Direct People Import Template.
*Note: Fields labeled with an asterisk (*) are required for File Upload:
|
|
What Information is Required for My Upload?
The following Fields are required within the Direct People Import Template (column letters are listed in parentheses):
Everyone in account:
- First Name (B)
- Last Name (A)
- People Type (C)
- Email Address (E) is highly recommended for everyone but not mandatory; Members use this to log into their Cut Time Profiles
Students/Members Only:
- Date of Birth (F)
- Primary Position (G)
- Student ID (D)
Parent/Guardian(s) Only:
- Matching Student ID (column D) to their Student/Member
- In the Example shown below, we have two Students; Annabelle and Brian, and Marcus is their father. In the Template this is represented by Marcus having both Annabelle and Brian’s Student ID’s listed in his Student ID cell, separated by a semicolon.
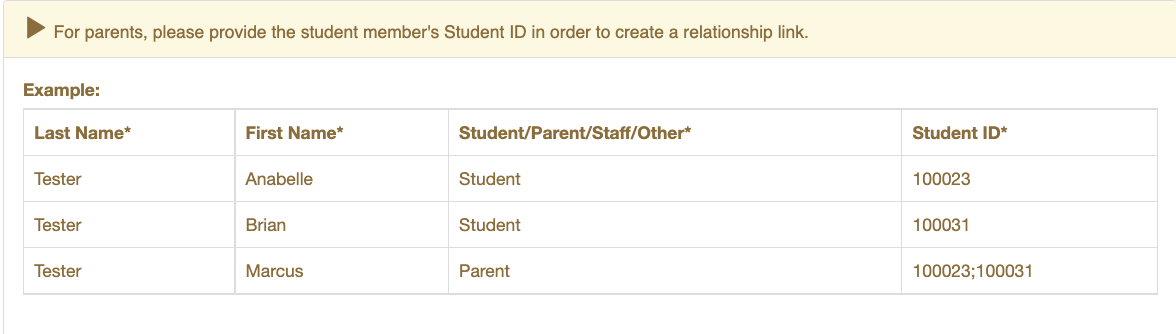
- *(Tip: Make sure when entering the ID Numbers that there is NO SPACE between the two numbers.)
- In the Example shown below, we have two Students; Annabelle and Brian, and Marcus is their father. In the Template this is represented by Marcus having both Annabelle and Brian’s Student ID’s listed in his Student ID cell, separated by a semicolon.
If any columns are not needed, just leave them blank.
DO NOT delete any columns!
Parent/Guardians Only:
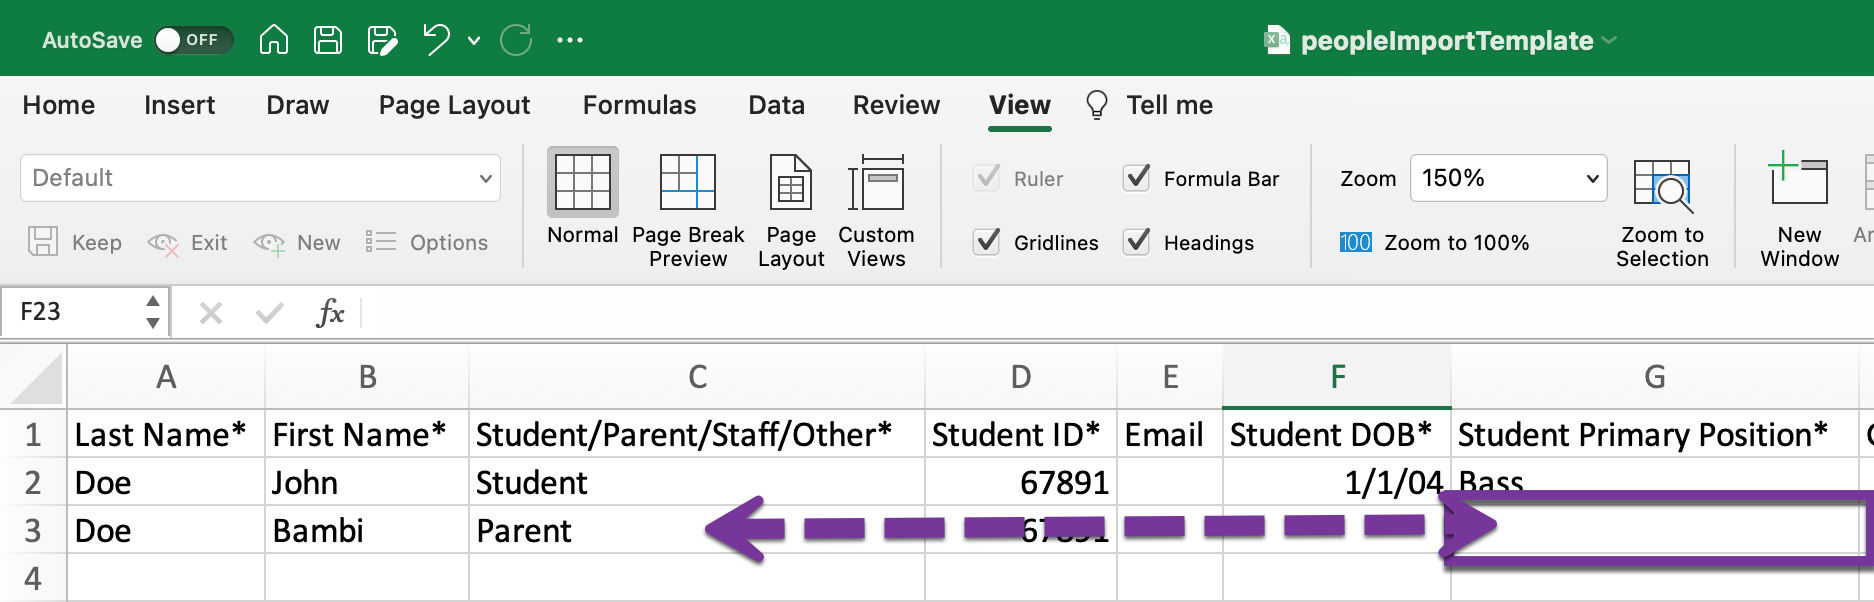
- No Program Participation Records or Positions should be listed for Parent/Guardians.

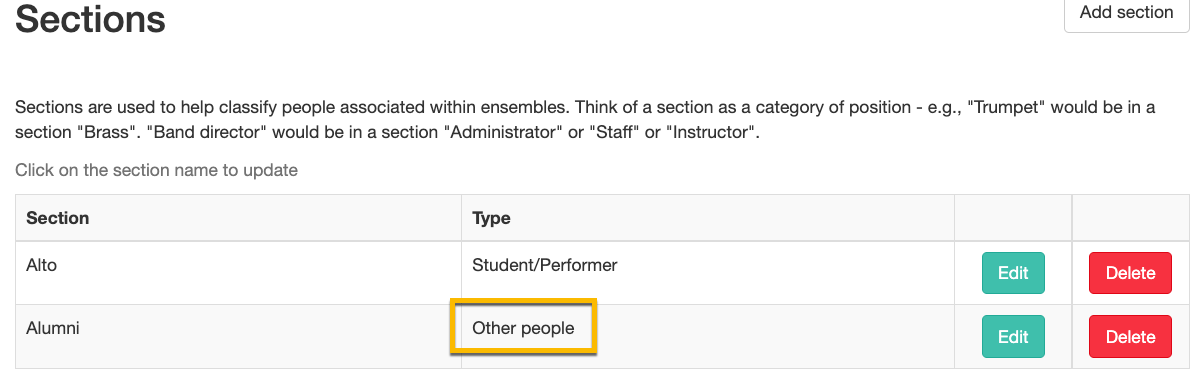
- But if you have Parents/Guardians who have specific Positions within your Organization, such as Booster Officers or Chaperones, you can give them a Program Participation Record. However, within Cut Time you must make sure that the Ensemble, Section, and Position associated with this Group are listed as a Parent or Other Type. (See linked Help Documents for more information)
- EXAMPLES:
- People – Ensembles/Groups

- People – Sections
- People – Positions

- *(Tip: Spelling - If you spell something two different ways, the Import will create it twice, spelled both ways)
- People – Ensembles/Groups


What If My Members Don't Have Email?
Imports maybe Uploaded without Email Addresses HOWEVER:
- Email Addresses are used within the Cut Time System for:
- Sending Registration Invitations
- Logging into their Cut Time Profile
- Sending Communications
- Sending notifications (Financials Statements, Assignments, Required Forms, Etc.)
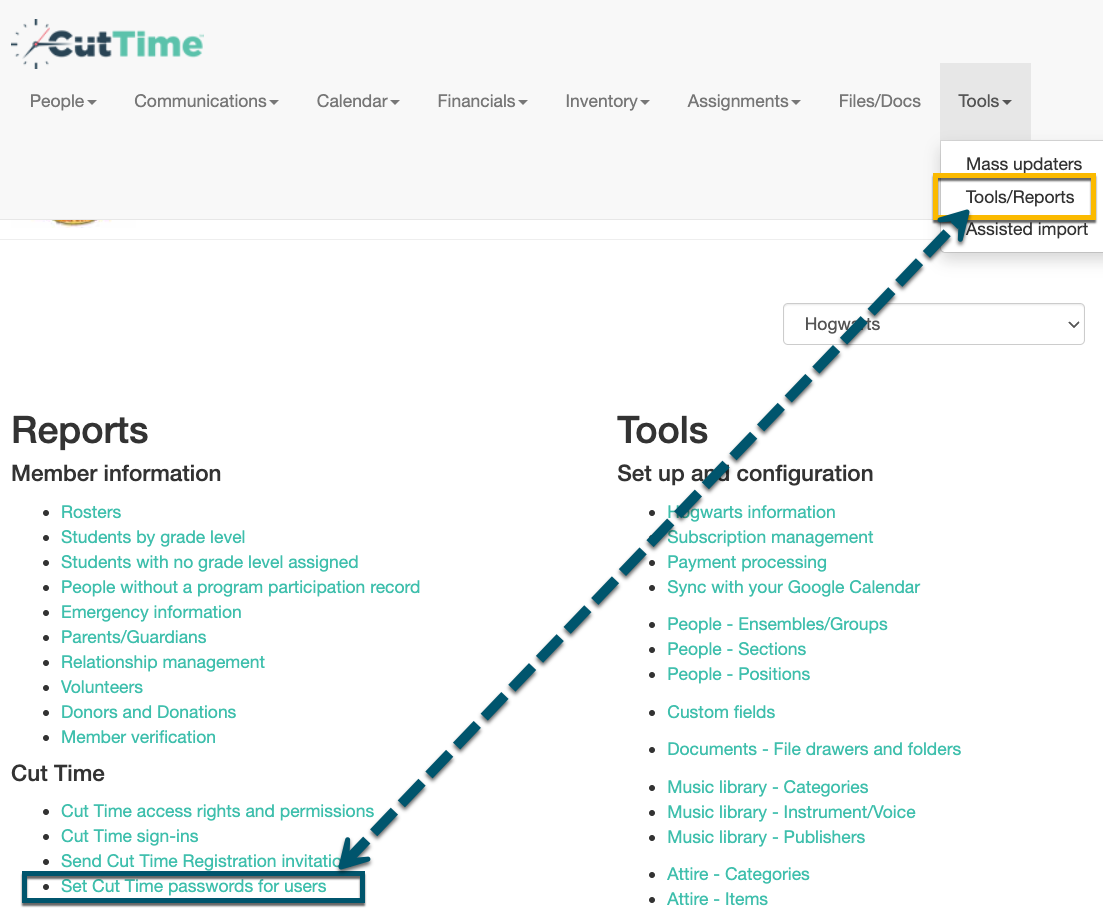
To get Members into Cut Time without an Email Address you can use the Set Cut Time Password for Users tool:
- Go to the Tools Module: Tools/Reports.
- On the left hand side under the Reports Section: Cut Time > Set Cut Time password for users.
- You will see all Members in your Account who have not logged in yet.
- There are preset Usernames that the System will generate for you that you can use, or you can change them.

- If the Username already exists within Cut Time, a message will appear stating that you will need to choose a different Username.
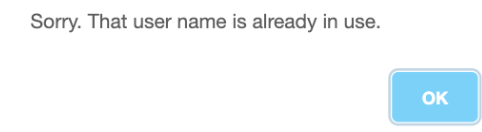
- *Note: Once a Username is set it cannot be changed by an Admin! To change it, you must contact the Cut Time Support Team.
- If the Username already exists within Cut Time, a message will appear stating that you will need to choose a different Username.
- Create a Password for each individual Member that you are assigning Usernames for.

- OR Set a default Password for all Members.

- *Note: Members may change their own Password at the bottom of their Profiles under the Password tab once logged in.
- Click “Save passwords for selected people”.

- *Please note that by using “Set default password” or setting a Password for a Member, it will automatically save the Username assigned to that Member listed on this page. So MAKE SURE THE USERNAME YOU WANT FOR THAT MEMBER IS LISTED BEFORE SAVING (and written down so that you can tell the Member what their login info is).


What if I Didn't Upload Email Addresses, But Have Them Now?
To update Email Addresses for your Members Profiles there are 2 options:
- Using Mass Updaters:
- Go to Tools Module: Tools/Reports.
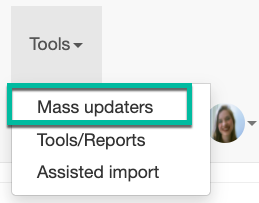
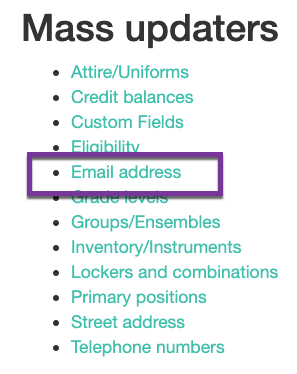
- Click Email address.
- Narrow down your Search by:
- Ensemble
- Position
- Students Name
- Search
- Scan Student's Bar Code.
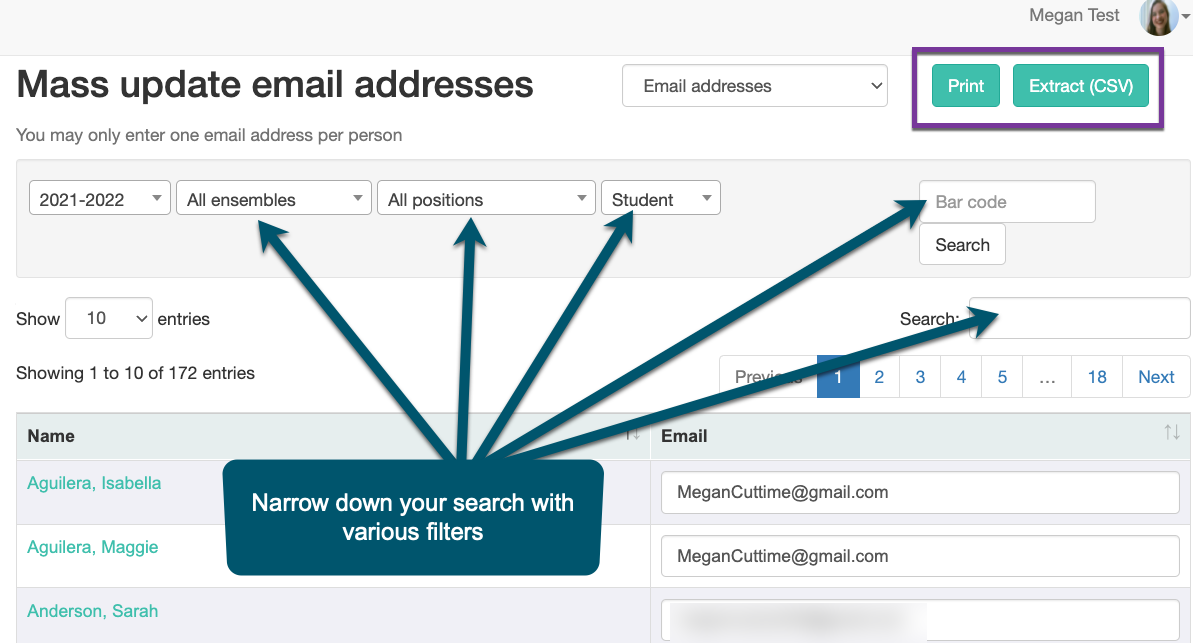
- Enter the Email Address.


- *Note: All Email Addresses entered will AUTO Save as you tab through the Updater. (They will update in green).
- *Note: There may only be ONE Email Address per Student/Member name.
- Go to Tools Module: Tools/Reports.
- You can also Update the Members Email through their Profile
- Go to the People Module: Members Page.
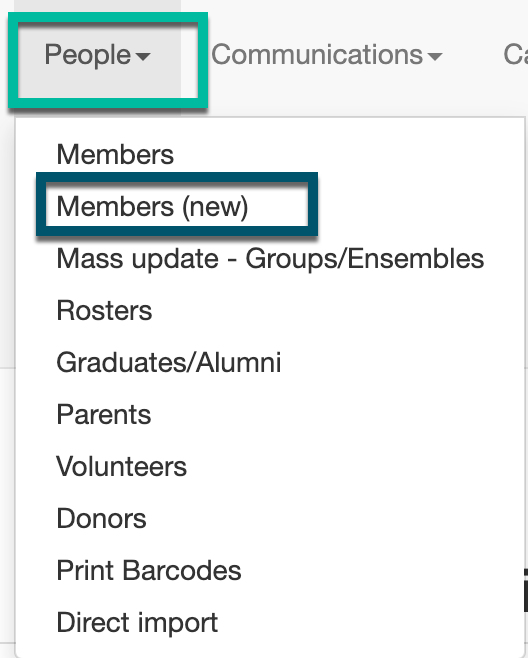
- Search for the Member you need to Update using the various Filters.
- Click on “Update” next to the Profile you wish to Add the Email to
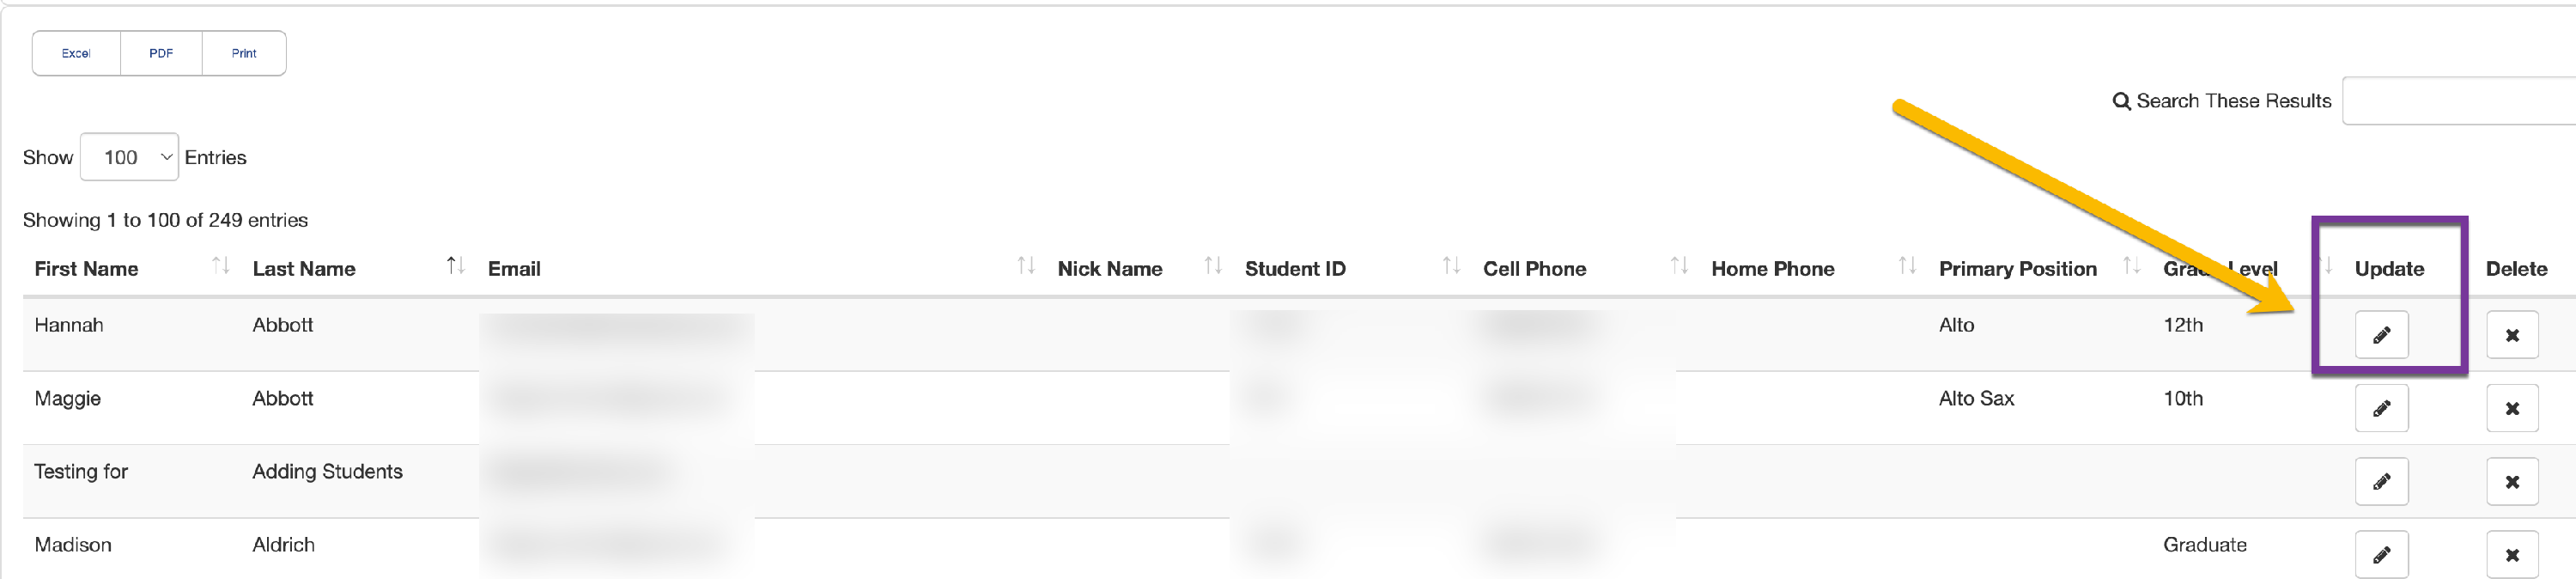
- Add the Email into the Section labeled Email.
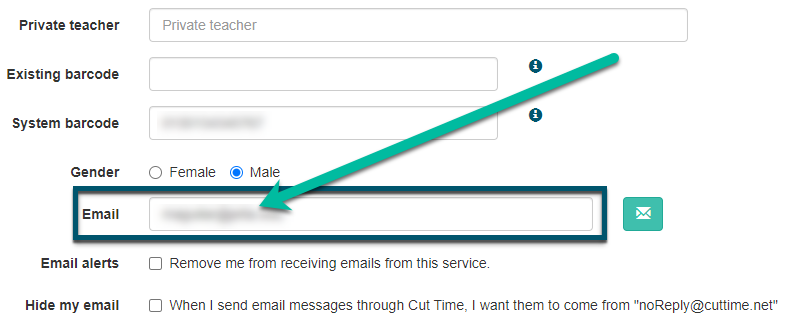
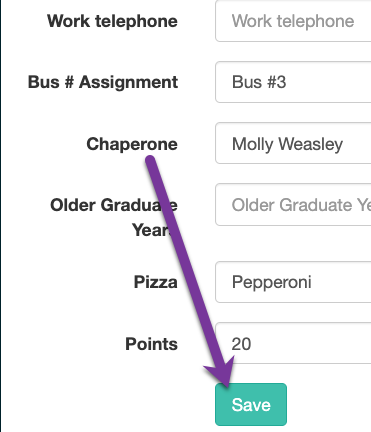
- Scroll down to the end of the Contact/Demographic information Section and click "Save".
- Go to the People Module: Members Page.


How to Save a File as .CSV:
Within in Excel:
- Click on "File" > "Save as".

- Select the location on the device where you wish to save file to.
- Click on "Save as type" .CSV (Comma delimited).

